
Main points:
- Anypoint Studio is already equipped for Java development
- To facilitate Java development you can add Maven support
- Maven support is added via the M2Eclipse project
- You should configure the build Maven goals
- You will need to change the default JDK to JDK 1.8
Java development in Anypoint Studio
Anypoint Studio supports Java development out of the box, what needs to be added is Maven support for Java project creation via Maven archetypes. In this blog post I will show how to install Maven tooling with the M2Eclipse project for Studio.
- Add download location for the M2Eclipse project to available software
- Install the M2Eclipse tooling to Anypoint Studio
- Create a Maven project using the
maven-archetype-quickstart - Configure project’s run settings
- Set Maven Java 1.8 plugin support
Add download location for the M2Eclipse project
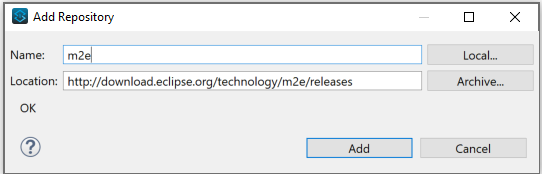
To install the tooling an update site location needs to be added to Studio. This is done in Help > Install New Software click the Add… button. The dialogue box below allows you to enter a name for the site and its URL: http://download.eclipse.org/technology/m2e/releases/latest/.
Install the M2Eclipse tooling to Anypoint Studio
Ensure that the M2Eclipse install location is selected and from the resulting download options select m2e - Maven Integration for Eclipse.
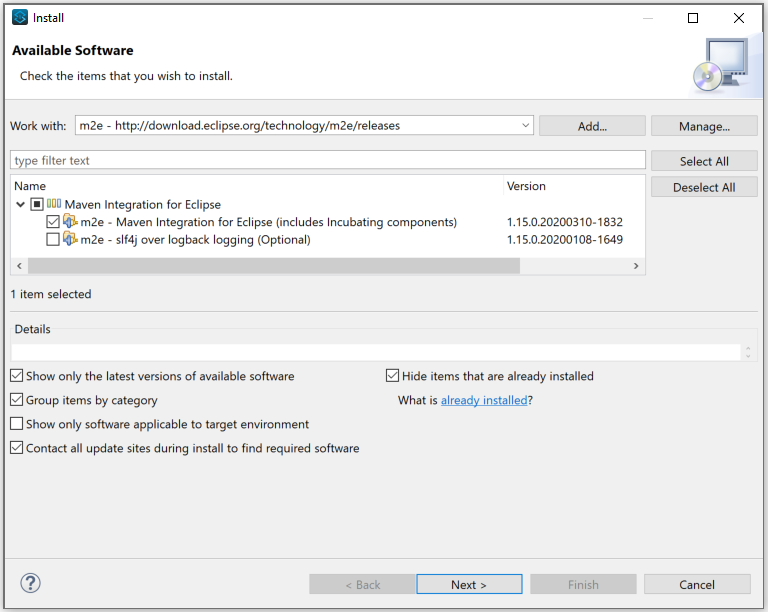
The tooling project will be installed. While installing you will have to accept the licence.
Create a Maven project using the maven-archetype-quickstart
Once installation has completed create a Maven project. Select File > New > Other… . In the dialogue box that pops up select Maven Project. You can enter a keyword to search for the maven project or navigate thought the setup wizard list of options.

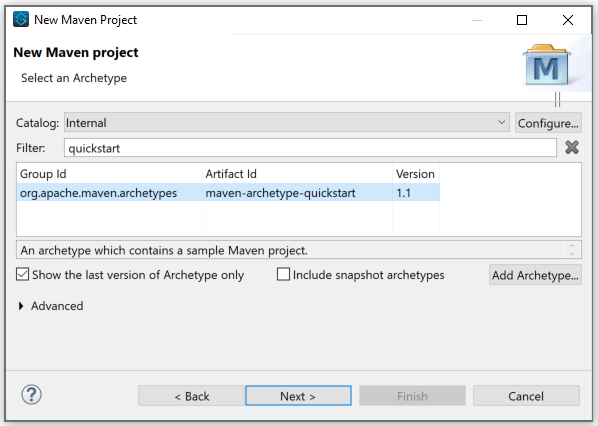
Click through until you reach the Select an Archetype dialogue box. Select the catalog, either Internal or All Catalogs, and enter maven-archetype-quickstart in the filter input. You should see the maven-archetype-quickstart listed. Select it and continue.
When you reach the Specify Archetype parameters enter the Maven coordinates for your project. This includes a Group Id, Artifact Id and Version. Note that the Artefact Id will become the name of the project.
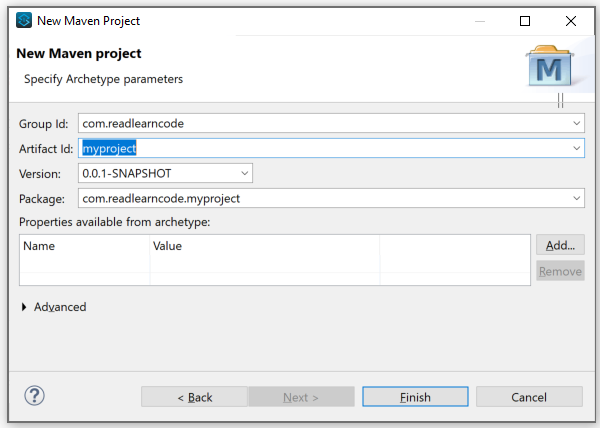
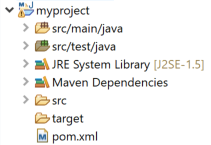
Once the project has been created it will be shown in the Package Explorer.
Configure project’s run settings
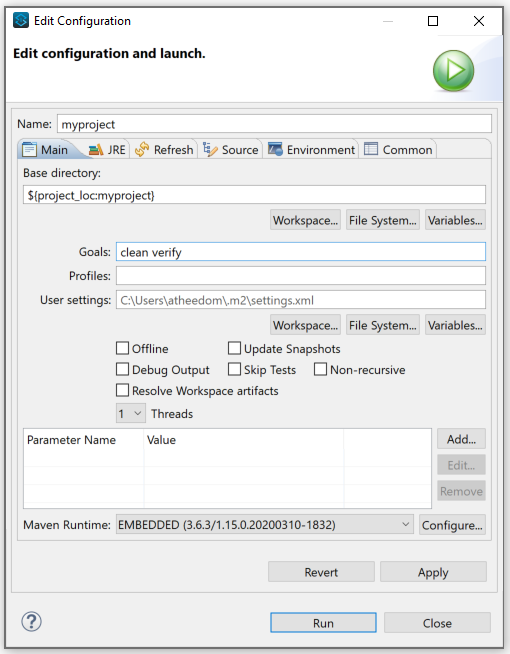
Once the project has been create set the run configurations. Right click on the project and select Run As > Maven build.

Enter the goals clean verify in Goals: and select Run.
Open the console to verify that the project has built correctly.
Set Maven Java 1.8 plugin support
By default your project will be set to use JDK 1.5, if you wish to use JDK 1.8 set the following properties in the Maven POM file.
<properties>
    <maven.compiler.target>1.8</maven.compiler.target>
    <maven.compiler.source>1.8</maven.compiler.source>
</properties>
You may be asked to update the project settings. Check the problems tab for confirmation.


Leave a comment