It has been about 17 months since I wrote the article Cloud based deployment pipeline based on the cloud IDE from codenvy.com and I wanted to revisit the site to see how they have changed.
The interface has improved substantially with a highly intuitive project template selector with options to choose from almost any project type based on a wide range of languages that include: Java, PHP, Python, Javascript, Go, CPP and Ruby. You can also start your project with a sample hello world including Groovy, C++, Android, AngularJS and Spring.
This wide choice gave me the idea to test how long it would take to set up a basic Spring MVC project, deploy it to live and commit it to a GitHub repository.
So let’s start the clock.
00:00 I log in and click the create new project button, it starts to build the workspace.

00:25 After a few seconds the workspace is built and the create new project dialogue box is displayed:

I selected the Spring Hello world project, entered a title and description for the project and clicked create.
00:55 The Hello world project is created, all relevant dependencies downloaded and the project built

Lets examine the code. Expand the HelloWorld folder in the project explorer on the left-side. As you can see this is a very simple Spring MVC application. Navigate down the package to the GreetingController class, open it and you can see that this is a basic implementation of a MVC controller.

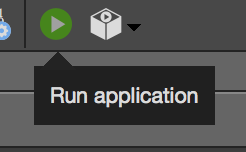
01:25 Now let’s deploy the application and see it go live. Click the Run Application button above the project explorer.
You will see the application’s standard out in the console below the work area.
01:55 Once the application has deployed you will see a confirmation message printed in the console: Application HelloWorld booted and reachable.
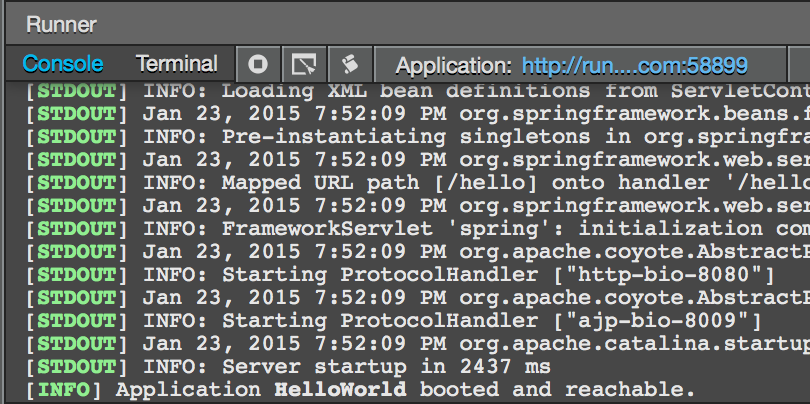
Now to view the site. Click the link in the console window to launch the site.

02:15 The site will launch. Test it by entering your name and pressing OK. You should see a greeting displayed on the screen.
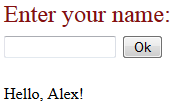
Excellent, you have just deployed your first application on codenvy.com.
But we are not finished yet. We still have time to commit our code to git hub. Click Initialize Repository from the Git menu.
02:25 This will initialize a local repository. Your code has been committed to your local repository.

![]()
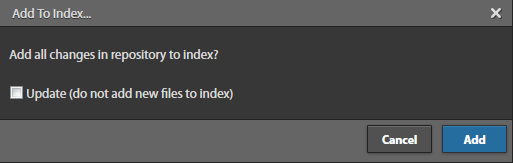
Now let’s make some changes to the code and commit it to master. Change the code and click Add to index from the Git menu.
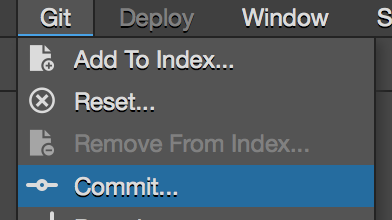
02:45 Now commit those changes to the local repository. Select Commit from the Git menu and enter a comment in the dialogue box that pops up.

Now let’s push it to a remote repository.
First, you will need to create a new repository via the github.com website and authorize codenvy to access your repository.
Assuming you have a repository setup you must now generate and upload SSH keys to GitHub. This is done via codenvy.
Select preferences from the window menu and follow the simple instructions here http://docs.codenvy.com/user/integration-with-github/. To upload the SSH to GitHub you must click the GitHub logo in the bottom right-hand corner.

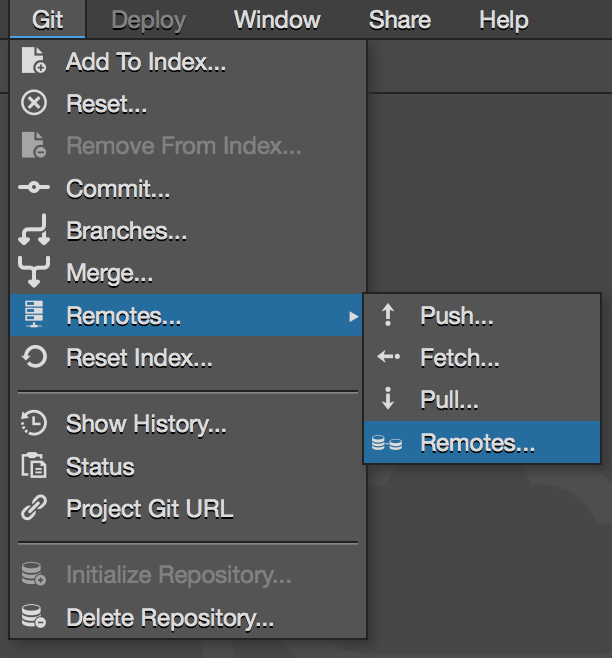
03:50 Now you have authorized codenvy with GitHub you must add the URI to your remote repository. Go to Git>Remotes>Remotes and enter the location and name of your repository.

04:10 Now you must first pull from the remote before pushing. Go to Git>Remotes>Pull then to push your code go to Git>Remotes>Push. Your code has now been push to your remote repository. Visit the GitHub site to see for yourself that the code has been pushed.
04:50 Congratulations. You have created, deployed and version controlled a Spring MVC web application in less than 5 minutes, and congratulations to codenvy for making it possible.
See it all happen directly in codenvy. Click the ‘Open in IDE’ button below and the HelloWorld project will be cloned from my git hub repository, compiled and deployed. Click the link in the console window to launch the site.

Git hub repository:
Links:
Other articles of interest:

Leave a comment